Tips for a Stress-Free DIY Flooring Installation
Taking on a DIY flooring project might seem overwhelming at first, but with the right guidance, you can achieve a professional-looking finish without the stress. At The Floor Trader, we’re here to make sure you feel confident every step of the way. From insider tips to expert tricks, we’ve got everything you need to tackle your flooring installation like a pro. Ready to get started? Let’s dive into our top tips for a smooth, hassle-free DIY flooring experience.
Preparing Your Subfloor: The Key to Success
Your new floor is only as strong as the surface beneath it. An uneven or dirty subfloor will compromise your entire installation.
- Start with a Clean Slate: Sweep and vacuum the area thoroughly to remove all dust, debris, and staples that could prevent planks from locking together properly.
- Ensure a Flat Surface: Your subfloor needs to be flat, meaning completely free of bumps or dips. Use a long straightedge to identify high spots for sanding and low spots that need a leveling compound. This crucial step prevents future squeaks and separation.
- Confirm It's Completely Dry: Moisture can ruin your new floor. For concrete subfloors, tape a plastic sheet to the ground for 24 hours. If you find condensation when you lift it, resolve the moisture issue before proceeding.
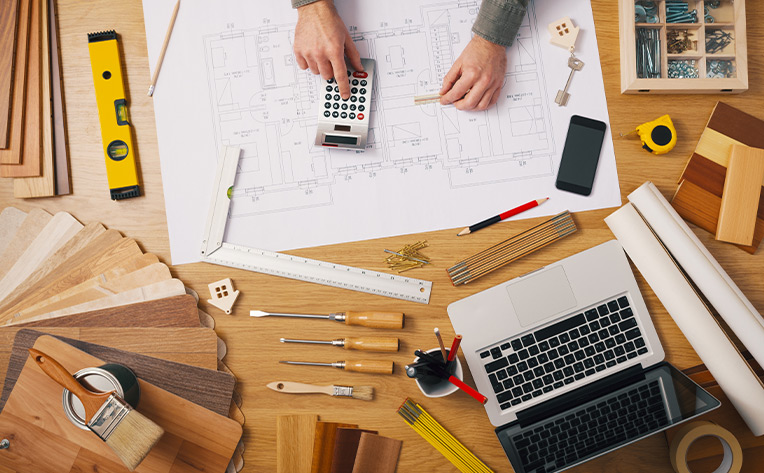
Make Sure You Have the Right Tools
Different floors require different installation methods and tools. So it's important to have the right tools on hand to avoid frantic trips to the hardware store during your project.
Click-Lock Flooring Tools
- Tape Measure and Pencil: Essential for accurate measurements and layout planning.
- Utility Knife: Quickly trims planks to fit; keep extra blades handy for clean cuts.
- Tapping Block and Pull Bar: Help secure planks tightly together without damaging the edges.
- Rubber Mallet: Gently taps planks into place for a secure fit.
- Safety Glasses: Protect your eyes from dust and flying debris.
- Spacers: Maintain consistent expansion gaps around walls and fixtures.
- Power Saw: Makes faster, smoother cuts for larger projects.
- Knee Pads: Keep you comfortable during long installations.
Glue-Down Flooring Tools
- Notched Trowel: Spreads adhesive evenly for solid coverage.
- Flooring Roller: Presses flooring into adhesive, ensuring a strong bond and flat surface.
- Utility Knife: Trims flooring to size and fits edges neatly.
- Spacers: Maintain proper expansion gaps.
- Bucket and Sponge: Clean up excess glue before it sets.
- Heavy-Duty Gloves: Protect your hands when handling adhesives.
Carpet Installation Tools
- Carpet Knife: Cuts carpet precisely for clean seams and edges.
- Knee Kicker: Stretches carpet across the room for a tight fit.
- Carpet Stretcher: Ensures wall-to-wall tension and prevents wrinkles, especially in larger spaces.
- Seam Roller: Presses seams together for a seamless look.
- Stair Tool: Tucks carpet snugly along stairs and edges.
- Carpet Trimmer: Finishes carpet edges for a professional result.
- Carpet Stapler/Electric Stapler: Secures padding or carpet in place.
- Knee Pads: Protect your knees during stretching and trimming.
Tile Installation Tools
- Tile Cutter: Delivers clean, precise cuts for a perfect fit.
- Notched Trowel: Spreads thinset or adhesive evenly on surfaces.
- Tile Spacers: Ensure evenly spaced grout lines for a balanced finish.
- Level: Confirms a flat, even installation.
- Grout Float: Spreads grout smoothly across tiles and fills joints.
- Sponge: Wipes away grout residue to keep tiles spotless.
- Rubber Mallet: Gently sets tiles in place.
- Heavy-Duty Gloves: Safeguard your hands when cutting and placing tiles.
Why You Need to Acclimate Your Floors
Materials like hardwood, vinyl, and laminate are sensitive to temperature and humidity. When you bring them home, they need time to adjust to your house's environment. Leave the boxes in the room where they will be installed for at least 48 to 72 hours. This prevents the planks from shrinking or expanding after installation.
Measure Twice, Cut Once
Before you open a single box, you need a plan. Start by calculating the room's square footage to determine how much material you will need. Measure the length and width of your room to get the total square footage. Then, add 10% to that number. This extra amount ensures that you have enough material after making cuts at the ends of the rows and correcting any mistakes to complete the project.
Common Installation Mistakes to Avoid
We have seen thousands of DIY projects, and we know where things can go wrong. Avoid these common traps to save yourself time and money.
- Skipping Subfloor Prep: Ensuring a clean and level subfloor is crucial for proper floor installation and longevity.
- Forgetting the Expansion Gap: All floating floors expand and contract with temperature changes. You need to leave a small gap (usually about 1/4 inch) around the entire perimeter of the room. If you fit the floor tightly against the wall, it will buckle and lift up when the weather gets warm. Spacers make this easy.
- Ignoring the Instructions: Every brand is slightly different. Take five minutes to read the manufacturer’s specific instructions inside the box. It can save you a lot of time and prevent unnecessary headaches.
- Starting Without a Plan: Don't just "wing it." If you start laying planks without measuring your room first, you might end up with a tiny, awkward sliver of a plank at the far wall.
Start Your Installation with Confidence
A stress-free installation is all about careful preparation and following the right steps. It isn't magic; it is a process. By taking the time to prep your subfloor, gather the right tools, and plan your layout, you eliminate the guesswork.
With the knowledge to complete your flooring project with confidence, you can snap that final piece into place and look across your beautiful new room, knowing you didn't just buy a floor; you built a space you can be proud of.
Feeling stuck on a specific step or have a unique room layout? Our experts are here to help. Schedule a free quote and get your questions answered today.