Measuring a room for flooring takes just a tape measure, some basic math, and a few minutes. Multiply width by length for square footage, break irregular rooms into sections, and always add about 10% extra for waste.
Before you can pick out flooring, you'll need to know exactly how much you need. The good news is that measuring your space doesn't take long, and once you know the steps, you'll be ready to tackle the next room just as fast. All it takes is a tape measure, a little math, and a few minutes of your time before you're ready to start your flooring project. Read on to learn how to measure any room with confidence, no guesswork required.
You don't need anything fancy to get started. A tape measure, a pencil, and a notepad (or your phone's calculator) will get the job done. Before you start measuring, clear the room of any furniture or clutter that might get in your way. A clean space means a clean measurement, and that's exactly what you want before locking in your flooring order.
Once your space is clear, measure the width of the room in feet, then measure the length in feet. Write both numbers down so you don't have to remember them on the fly. To find your square footage, multiply width by length:
Width (ft) × Length (ft) = Square Footage
For example, if your room is 12 feet wide and 14 feet long, your equation looks like this:
12 × 14 = 168 square feet
For a standard rectangular room, that's your total square footage right there.
Pro Tip: Always measure wall to wall, not from the baseboard. Baseboards sit out a few inches from the actual wall, and starting from there will throw your numbers off. If your measurements land on an inch instead of a clean foot, convert the inches to a decimal by dividing by 12, or just round to the nearest half foot to keep your math simple.
If your room has a bump-out, a closet, or an L-shaped layout, you'll need to break the space into smaller rectangles first. Measure the width and length of each section separately, calculate the square footage for each one using the same formula, then add all the totals together.
For example, say your main room measures 12 feet by 14 feet, giving you 168 square feet. Now say there's a closet nook that adds another 4 feet by 5 feet, giving you 20 square feet. Add those two totals together:
168 + 20 = 188 total square feet
Got a triangular section in the mix, like an angled wall or a nook? Measure the length of one wall, then measure straight across to the opposite corner. Multiply those two numbers and divide by 2:
Wall Length × Distance to Opposite Corner ÷ 2 = Square Footage
It takes a few extra minutes to break an irregular room into sections, but it keeps your measurement accurate no matter how your room is shaped.
Not sure how your new flooring will actually look once it's down? Use our innovative Room Visualizer tool to picture your space before you commit to a single board or tile. Simply upload a photo and view different flooring options right in your own room.
Your total square footage is just the starting point. Flooring installation always calls for a little extra material on top of your base number, usually somewhere around 10%. This waste factor covers cuts, trimming, and any material lost during installation.
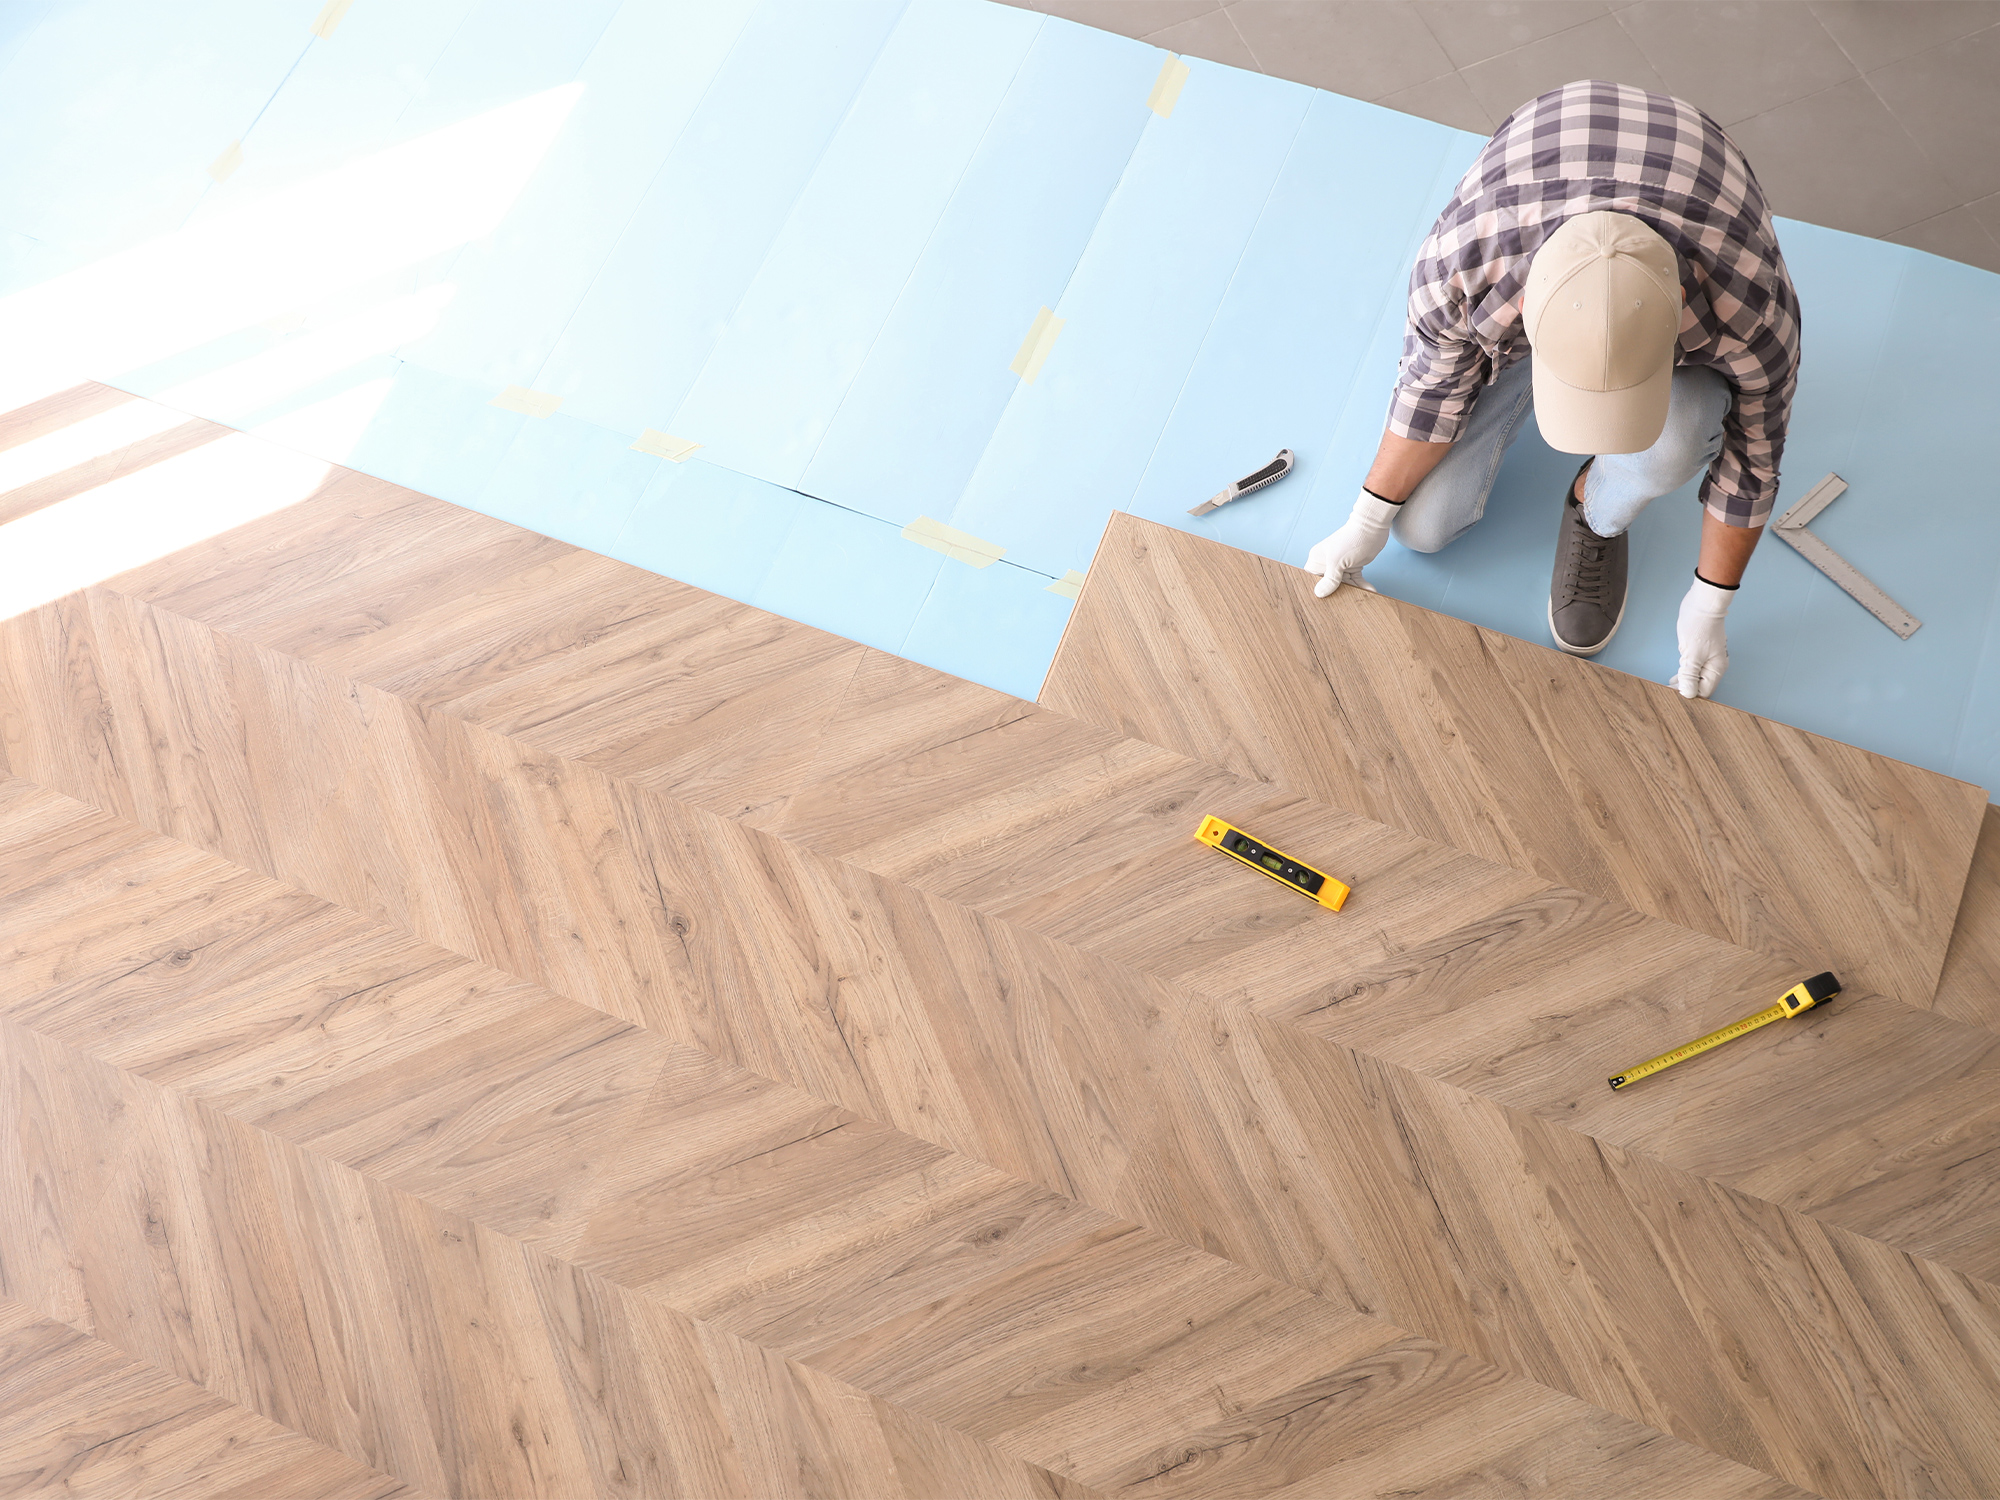
The exact amount of extra material you need can shift depending on the size of your tile or plank and the layout pattern you choose. A diagonal layout or a herringbone pattern, for example, tends to need more extra material than a simple straight installation.
If your room has any built-in cabinets or a fireplace hearth that won't be covered, measure those separately and subtract them from your total before you add your buffer back in. Building in that extra material now can save you from a second trip later.
A few simple slip-ups can throw off your whole order. Keep an eye out for these:
Always double check your math, and confirm your width and length before placing an order. Taking an extra minute to review your measurements beforehand can save you a lot of hassle down the line.
You've got your measurements, you know your square footage, and you've got a good handle on how much extra material to grab. Now it's time to turn that plan into a finished floor. Our team has helped plenty of homeowners get from measuring tape to move-in ready, and we're ready to do the same for you. Whether you've got questions about your numbers or you're ready to start picking out flooring, don't wait to reach out and find the right fit for your space.
Measure the width and length of your room in feet, then multiply those numbers together to get your square footage. Add roughly 10% on top of that total to account for waste and cuts during installation.
Break the room down into smaller rectangles, like one for the main space and another for a bump-out or closet. Measure each section separately, calculate the square footage for each, then add all the totals together for your full measurement.
It can. Larger format tile or plank can mean a bit more waste during cuts, while smaller pieces like standard hardwood or laminate planks tend to leave less material behind. Whether you're looking at hardwood, vinyl, laminate, or tile, your waste factor may shift slightly based on size and layout pattern.